With these simple configurations, you can perform the network setup on OpenWrt for the ZTE MF79N. Configuring DHCP for eth2 ensures the automatic assignment of IP addresses, while USB mode switching enables the modem’s network functionality.
add eth2 interface to /etc/config/network ( the interface can be different ) check with dmesg which interface you get
config interface 'eth2'
        option ifname 'eth2'
        option proto 'dhcp'
        option dns '8.8.8.8, 8.8.4.4'
/etc/config/network
Plug in the ZTE USB Router
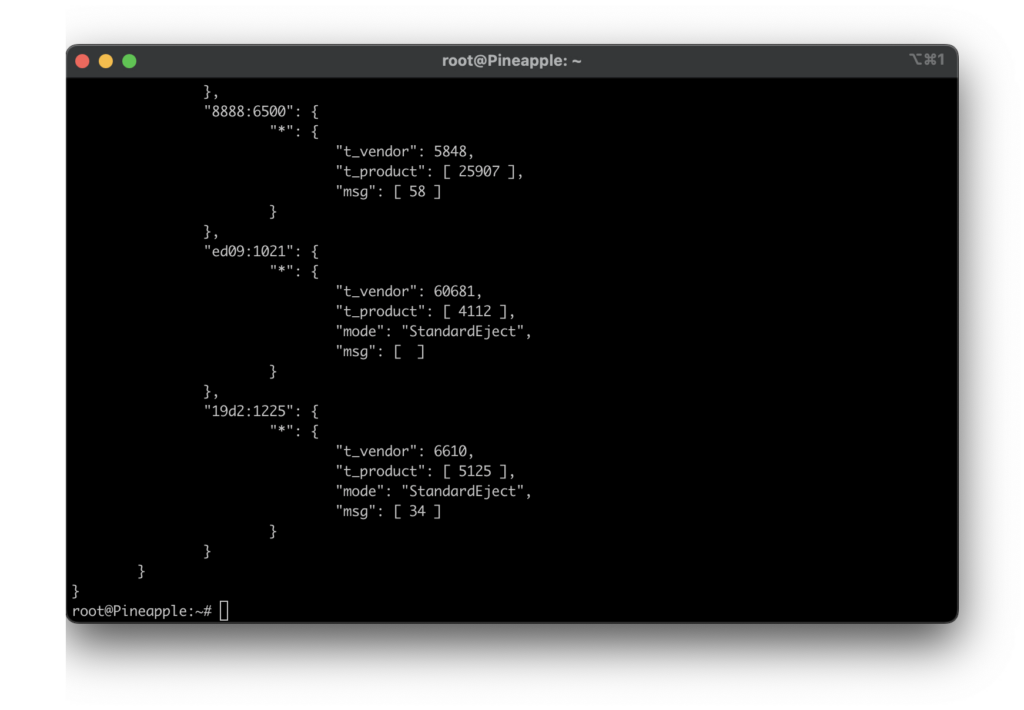
output of dmesg
root@Pineapple:~# dmesg---- snip -------- snap ----[ 1638.852858] usb 1-1: USB disconnect, device number 19[ 1638.860391] cdc_ether 1-1:1.0 eth2: unregister 'cdc_ether' usb-ehci-platform-1, ZTE CDC Ethernet Device[ 1659.119471] usb 1-1: new high-speed USB device number 20 using ehci-platform[ 1659.324332] usb-storage 1-1:1.0: USB Mass Storage device detected[ 1659.340015] usb-storage 1-1:1.0: Quirks match for vid 19d2 pid 1225: 1[ 1659.354214] scsi host0: usb-storage 1-1:1.0[ 1662.998352] usb 1-1: USB disconnect, device number 20[ 1664.669459] usb 1-1: new high-speed USB device number 21 using ehci-platform[ 1664.879602] cdc_ether 1-1:1.0 eth2: register 'cdc_ether' at usb-ehci-platform-1, ZTE CDC Ethernet Device, 5f:3b:60:00:00:00[ 1664.894248] cdc_ether 1-1:1.0 eth2: kevent 12 may have been dropped[ 1664.904535] cdc_ether 1-1:1.0 eth2: kevent 11 may have been dropped[ 1664.921138] usb-storage 1-1:1.2: USB Mass Storage device detected[ 1664.938806] scsi host0: usb-storage 1-1:1.2[ 1665.568740] usb 1-1: USB disconnect, device number 21[ 1665.589516] cdc_ether 1-1:1.0 eth2: unregister 'cdc_ether' usb-ehci-platform-1, ZTE CDC Ethernet Device[ 1666.399501] usb 1-1: new high-speed USB device number 22 using ehci-platform[ 1666.634377] usb-storage 1-1:1.0: USB Mass Storage device detected[ 1666.649404] usb-storage 1-1:1.0: Quirks match for vid 19d2 pid 1225: 1[ 1666.661721] scsi host0: usb-storage 1-1:1.0[ 1670.325566] usb 1-1: USB disconnect, device number 22[ 1671.219562] usb 1-1: new high-speed USB device number 23 using ehci-platform[ 1671.439610] cdc_ether 1-1:1.0 eth2: register 'cdc_ether' at usb-ehci-platform-1, ZTE CDC Ethernet Device, 5f:3b:60:00:00:00[ 1671.454146] cdc_ether 1-1:1.0 eth2: kevent 12 may have been dropped[ 1671.468024] cdc_ether 1-1:1.0 eth2: kevent 11 may have been dropped[ 1671.500521] usb-storage 1-1:1.2: USB Mass Storage device detected[ 1671.526190] scsi host0: usb-storage 1-1:1.2[ 1672.581397] scsi 0:0:0:0: CD-ROM ZTE USB SCSI CD-ROM 2.31 PQ: 0 ANSI: 2[ 1672.590456] scsi 0:0:0:0: Attached scsi generic sg0 type 5[ 1672.650434] scsi 0:0:0:1: Direct-Access ZTE MMC Storage 2.31 PQ: 0 ANSI: 2[ 1672.659765] sd 0:0:0:1: Attached scsi generic sg1 type 0[ 1672.672069] sd 0:0:0:1: [sda] Attached SCSI removable disk
In scenarios where a Linux system has multiple network interfaces, maintaining internet connectivity even if one interface goes down becomes crucial. This blog post will guide you through the process of setting up a routing table with multiple gateways and metrics to ensure a seamless switch between interfaces.
Identifying Gateways
Before configuring the routing table, identify the IP addresses of the gateways associated with each network interface. This information will be used to set up default routes with different metrics.
Setting Up the Routing Table
Open the routing table configuration file, typically located at /etc/network/interfaces or /etc/sysconfig/network-scripts/route-interface.
Add the default routes with distinct metrics for each interface. Here’s an example for eth0 and ppp0 in the /etc/network/interfaces file:
Disconnect one of the interfaces and verify that the system maintains internet connectivity. The configured routing table should automatically switch to the other route with a higher metric.
Conclusion
Configuring a robust routing table with multiple gateways and metrics on a Linux system is a valuable strategy to ensure continuous internet connectivity, even in the event of one interface going down. By following these steps, you can enhance the reliability of your network configuration and minimize downtime. Adjust the metric values according to your specific requirements and network conditions.
In scenarios where a Linux system relies on Python for network management, ensuring uninterrupted internet connectivity, even when one network interface goes down, is crucial. This blog post will guide you through using Python and the subprocess module to set up a reliable system capable of seamlessly switching between interfaces.
Python Script for Interface Ping Tests:
import subprocessdefping_interface(interface, destination_ip):try: command =f"ping -I {interface} -c 4 {destination_ip}" result = subprocess.run(command, shell=True, check=True, stdout=subprocess.PIPE, stderr=subprocess.PIPE, text=True)print(f"Ping result for {interface}:")print(result.stdout)except subprocess.CalledProcessError as e:print(f"Error pinging {destination_ip} over {interface}: {e.stderr}")# Replace 'eth0' and 'ppp0' with your actual interface namesping_interface('eth0', '8.8.8.8')ping_interface('ppp0', '8.8.8.8')
Python
Import the subprocess module for executing shell commands.
Define a function, ping_interface, that takes an interface name and a destination IP address as parameters.
Construct the ping command using the specified interface and destination IP.
Use subprocess.run to execute the command, capturing the result.
Print the ping result or handle any exceptions that may occur.
Replace ‘eth0’ and ‘ppp0’ with your actual interface names and ‘8.8.8.8’ with the IP address you want to ping.
Conclusion
By utilizing Python and the subprocess module, you can easily implement a script to test ping connectivity over different network interfaces. This approach allows you to monitor the status of each interface, facilitating proactive management and ensuring continuous internet connectivity. Incorporate this script into your network management toolkit to enhance the reliability of your Python-based network applications.
For my Raspberry Pi project in the garden, I need a remote shell. However, I encountered some issues; firstly, port forwarding doesn’t work as the LTE provider restricts this capability. Despite several attempts, not even ICMP packets are routed through.
Consequently, I explored dataplicity.com as an alternative, which worked, but it presented problems during disconnects or when my computer entered standby mode.
Therefore, I plan to test Teleport Community on AWS.
Without Terraform
basically thats all what you need (without terraform). replace the email and cluster name with your values.
#!/bin/bashsudoyumupdate-ysudoyuminstall-ywgetjqsudowgethttps://goteleport.com/static/install.shsudobashinstall.shsudoteleportconfigure-ofile\--acme--acme-email=<nam e>@megadodo.org\--cluster-name=teleport.project.megadodo.org# please replace it with your clusternamesudosystemctlenableteleportsudosystemctlstartteleportsudotctlusersaddteleport-admin--roles=editor,access--logins=root,ubuntu,ec2-user\|sudotee-a/root/teleport_invite_urlecho"User 'teleport-admin' has been created. Share this URL with the user to complete user setup:"cat/root/teleport_invite_url
user_data.sh
With Terraform
To set up a teleport host, I have considered the following steps.
EC2 instance ( t3.micro ) with Amazon Linux 2023
SecurityGroup ( teleport-sg )
Hosted Zone ( like project.megadodo.org ) in AWS ( not necessary needed, you can do it with an HOST A or CNAME )
DNS A Record: teleport.project.megadodo.org => Public IP
local terraform backend ( i know its not best practice, but who cares in a dev stage )
The Folderstructure looks like this, marked the most important files
If you need a route53 Hosted Zone use the script as it is if not comment out the highlighted lines exept line 12 and replace YourAWSHostedZoneID with a ID of your AWS Hosted zone
# if you do not need a hosted zone please comment this out or rename/delete the fileresource"aws_route53_zone""hosted_zone"{name=var.hosted_zone_nametags={Terraform="true"Environment="production" }}resource"aws_route53_record""teleport_entry"{zone_id=aws_route53_zone.hosted_zone.id# zone_id = "YourAWSHostedZoneID"name="teleport"type="A"ttl=60records= [aws_instance.teleport_instance.public_ip]}output"zone_id"{value=aws_route53_zone.hosted_zone.id}
route53.tf
zone_id="YourAWSHostedZoneID"
Bash
SecurityGroup
Create security groups in securitygroup.tf after the complete setup of the teleport admin user you can remove the ingress for port 22
resource"aws_security_group""teleport_sg"{name="teleport-sg"description="Security group for Teleport"}resource"aws_security_group_rule""teleport_sg_ingress_https"{security_group_id=aws_security_group.teleport_sg.idtype="ingress"from_port=443to_port=443protocol="tcp"cidr_blocks= ["0.0.0.0/0"]}resource"aws_security_group_rule""teleport_sg_ingress_ssh"{security_group_id=aws_security_group.teleport_sg.idtype="ingress"from_port=22to_port=22protocol="tcp"cidr_blocks= ["0.0.0.0/0"]}# allow any outgoing trafficresource"aws_security_group_rule""teleport_sg_egress_any"{security_group_id=aws_security_group.teleport_sg.idtype="egress"from_port=0to_port=0protocol="-1"cidr_blocks= ["0.0.0.0/0"]}
securitygroup.tf
SSH Access
Use of already existing ssh-key from my computer if you have none you can generate your key with
Creation of the Server itself, here also the userdata.sh will be automatically executed please note you can specify the user names that should be available for selection in teleport by default. in my case these are root,ubuntu,ec2-user
the teleport version to be installed is also passed here
resource"aws_instance""teleport_instance"{ami=var.ami_idinstance_type=var.instance_typekey_name=aws_key_pair.generated_key.key_namevpc_security_group_ids= [aws_security_group.teleport_sg.id]tags={Name="teleport-instance" }user_data=<<-EOF #!/bin/bash sudo yum update -y curl https://goteleport.com/static/install.sh | sudo bash -s 14.3.3 sudo teleport configure -o file \ --acme --acme-email=${var.acme_email}\ --cluster-name=${var.cluster_name} sudo systemctl enable teleport sudo systemctl start teleport # wait for service to be ready sleep 10 sudo tctl users add teleport-admin --roles=editor,access --logins=root,ubuntu,ec2-user | sudo tee -a /root/teleport_invite_url EOF}
teleport_server.tf
Environment Variables
specify your environment
variable"aws_region"{description="AWS region where resources will be created"default="eu-north-1"# Replace with your desired default region}variable"ami_id"{description="AMI ID for the Teleport-compatible image"# default = "ami-0506d6d51f1916a96"default="ami-0d0b75c8c47ed0edf"# Amazon Linux 2023 if needed Replace with the appropriate Teleport-compatible AMI}variable"key_name"{description="Name of the AWS key pair"default="ssh_key_ec2"# Replace with your key pair name}variable"instance_type"{description="EC2 instance type"default="t3.micro"# Adjust instance type as needed}variable"acme_email"{description="Email address for ACME (Let's Encrypt) certificate"default="<n a m e>@megadodo"# Replace with your email address}variable"cluster_name"{description="Cluster name for Teleport"default="teleport.project.megadodo.org"# Replace with your desired cluster name}# Rename route53.tf to route53.tf_ if you dont need thatvariable"hosted_zone_name"{description="Name for Hosted Zone"default="project.megadodo.org # Replace with your desired cluster name}
└─$sshteleport.project.megadodo.org-lec2-user-i~/.ssh/ssh_key_ec2.pemTheauthenticityofhost'teleport.project.megadodo.org (13.60.24.255)'can't be established.ED25519 key fingerprint is SHA256:zt5YVZ+omhMh5lRxMtweBOUXf6SBuSTFkFUsZmCODt4.This key is not known by any other names.Are you sure you want to continue connecting (yes/no/[fingerprint])? yesWarning: Permanently added 'teleport.project.megadodo.org' (ED25519) to the list of known hosts. , #_ ~\_ ####_ Amazon Linux 2023 ~~ \_#####\ ~~ \###| ~~ \#/ ___ https://aws.amazon.com/linux/amazon-linux-2023 ~~ V~''-> ~~~ / ~~._. _/ _/ _/ _/m/'[ec2-user@ip-172-31-38-168 ~]$f
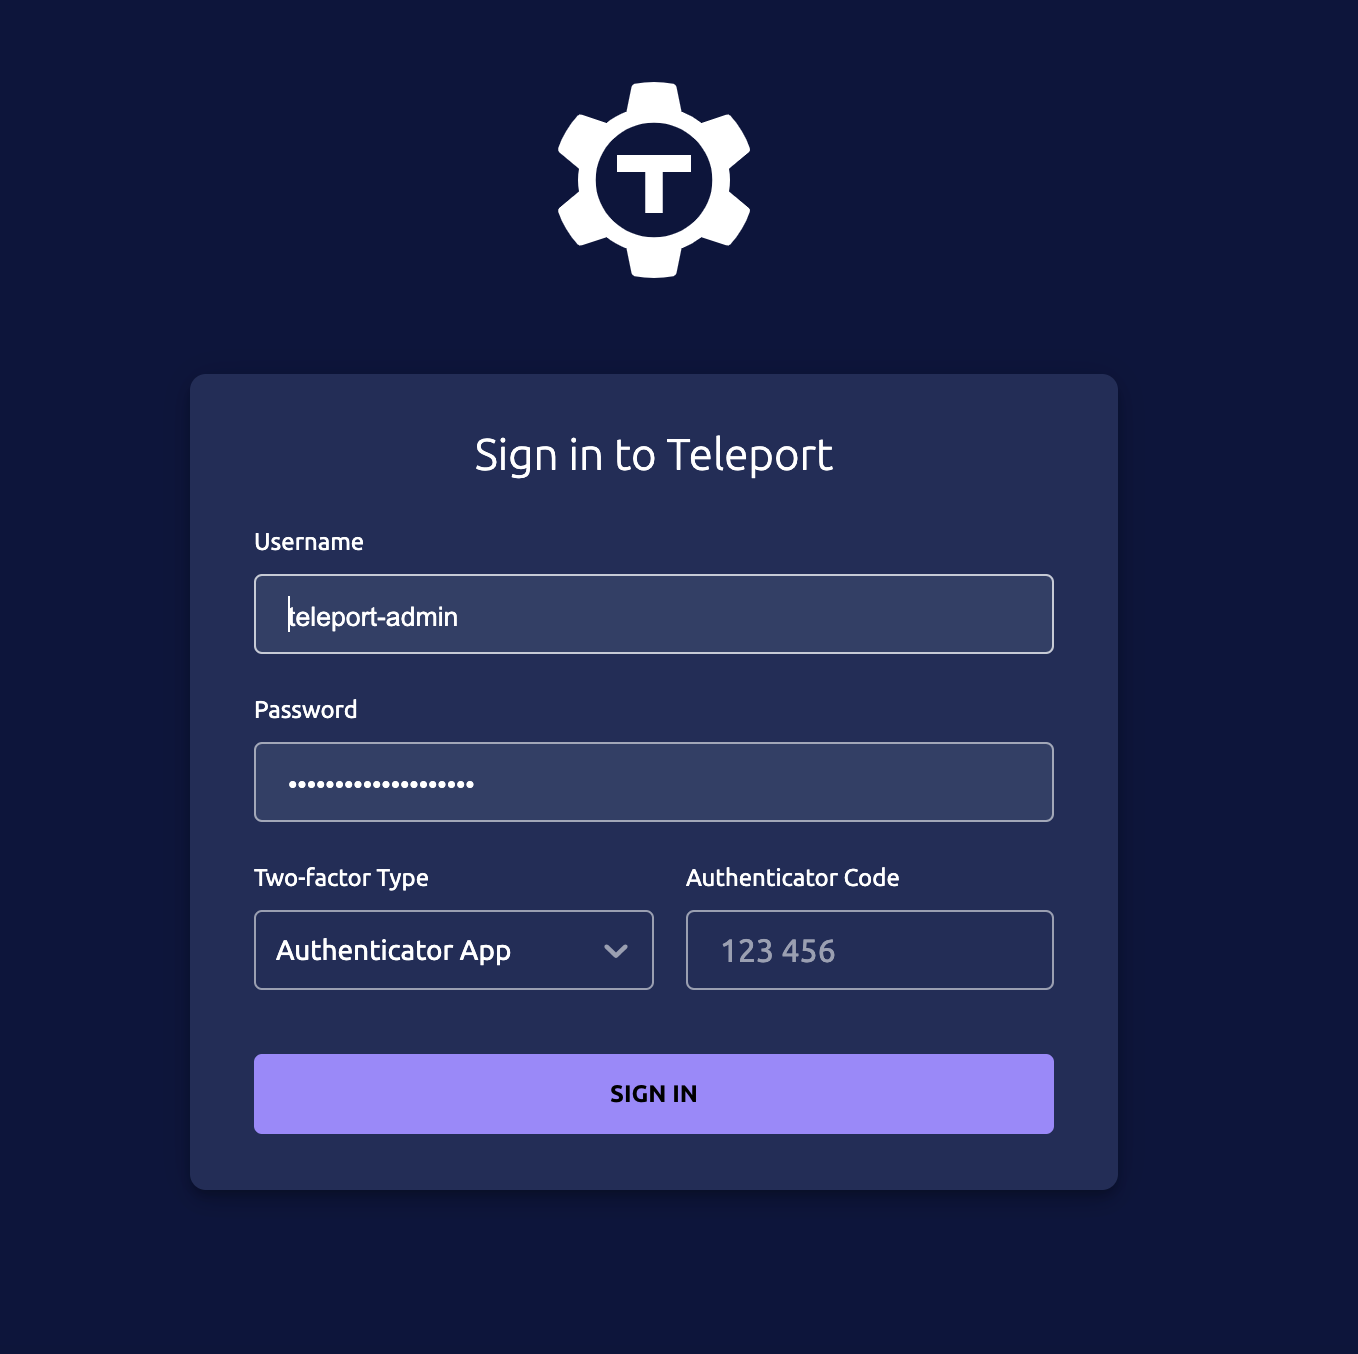
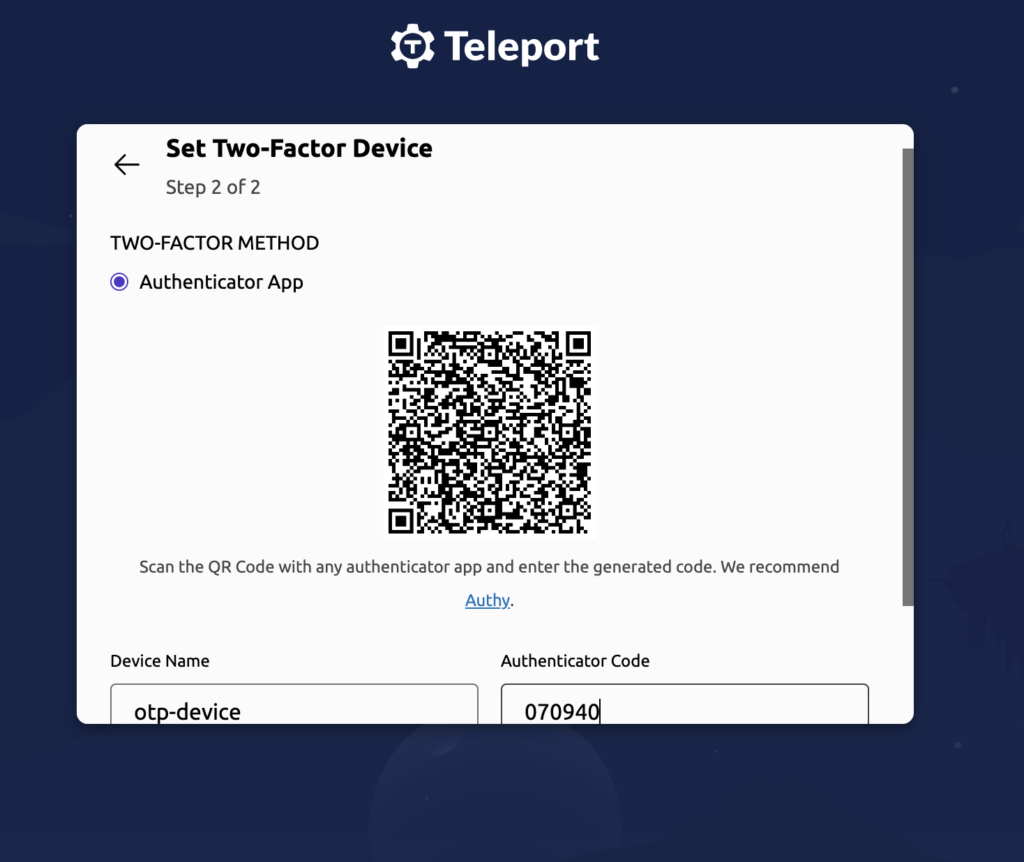
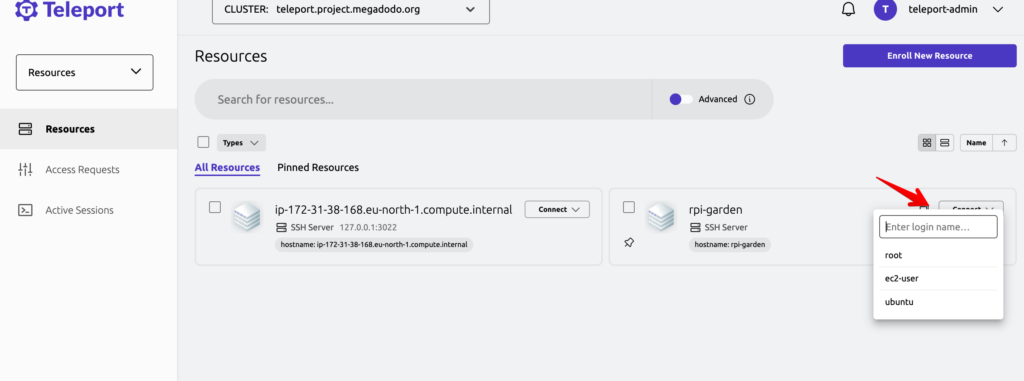
copy the link and paste it into your browser, by visiting the link you can set a password for teleport. if you do not receive a link you just need to execute which outputs again
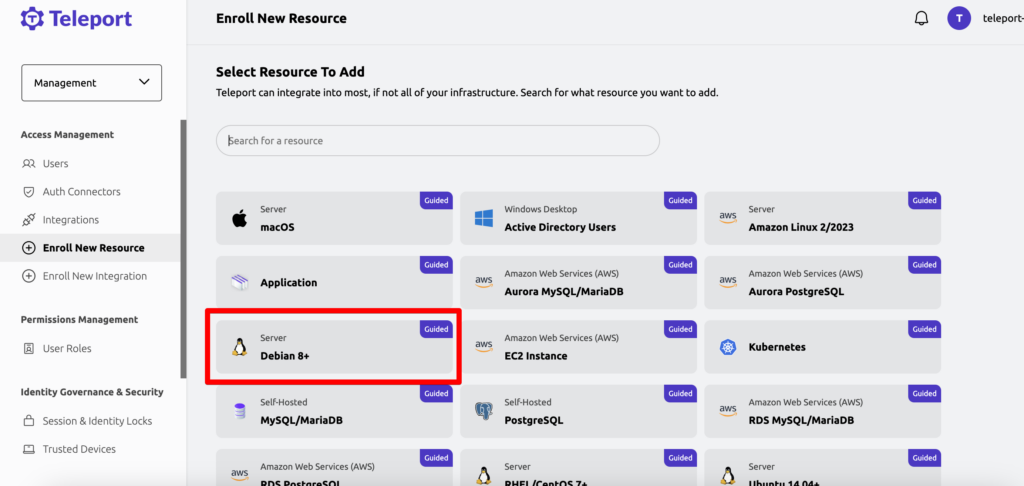
Now we need to add a resource to teleport, in my case it is a Debian 8+ (Raspberry). Copy the command you receive and run it on the remote machine you want to access
Copied and executed the url which is given in when you click on this on my Raspberry
note: The package has a size of 135MB for Debian, which is difficult for my limited LTE data volume.
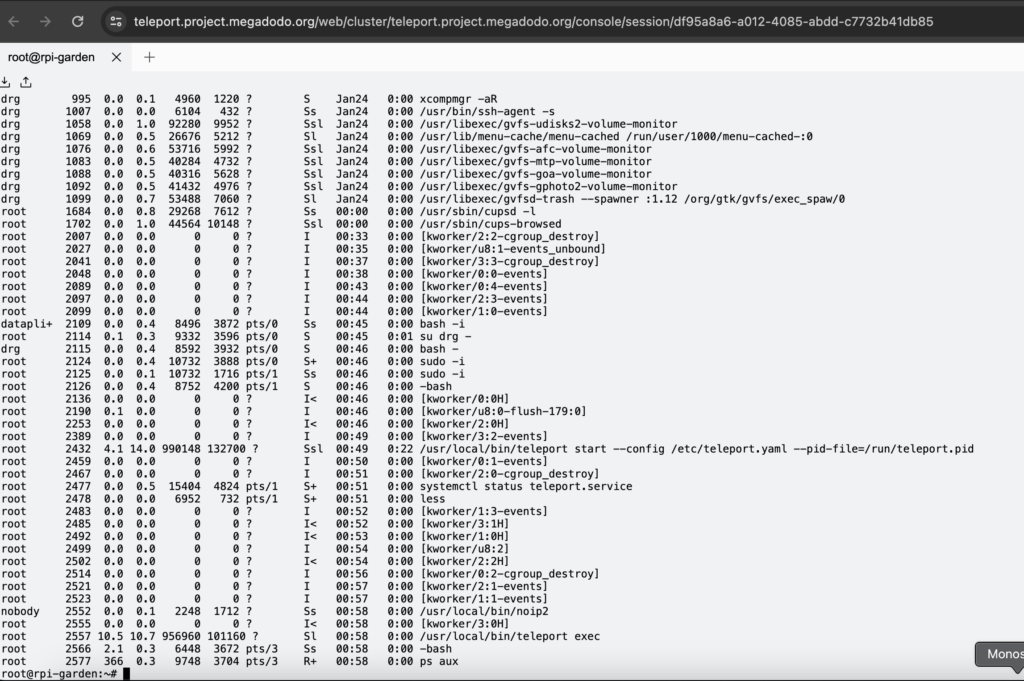
root@rpi-garden:~#sudobash-c"$(curl -fsSL https://teleport.project.megadodo.org/scripts/e45d516d05e5b2eed43cc34d7ddd89d53/install-node.sh)"sudo:unabletoresolvehostrpi-garden:Nameorservicenotknown2024-01-2500:47:23CET [teleport-installer] TELEPORT_VERSION: 14.3.32024-01-2500:47:23CET [teleport-installer] TARGET_HOSTNAME: teleport.project.megadodo.org2024-01-2500:47:23CET [teleport-installer] TARGET_PORT: 4432024-01-2500:47:23CET [teleport-installer] JOIN_TOKEN: 4f511f47e5b2eef33ccc4aafdd89fb7f2024-01-2500:47:23CET [teleport-installer] CA_PIN_HASHES: sha256:9afac743c5fd1d236667436423a2f929fexd9253feed159af622d6541d65b592e2024-01-2500:47:23CET [teleport-installer] Checking TCP connectivity to Teleport server (teleport.project.megadodo.org:443)2024-01-2500:47:23CET [teleport-installer] Connectivity to Teleport server (vianc) looks good2024-01-2500:47:23CET [teleport-installer] Detected host: linux-gnueabihf, using Teleport binary type linux2024-01-2500:47:23CET [teleport-installer] Detected arch: armv7l, using Teleport arch arm2024-01-2500:47:23CET [teleport-installer] Detected distro type: debian2024-01-2500:47:23CET [teleport-installer] Using Teleport distribution: deb2024-01-2500:47:23CET [teleport-installer] Created temp dir /tmp/teleport-w80NLClm8b2024-01-2500:47:23CET [teleport-installer] Installing from binary file.2024-01-2500:47:24CET [teleport-installer] Downloading Teleport deb release 14.3.32024-01-2500:47:24CET [teleport-installer] Running curl -fsSL --retry 5 --retry-delay 5 https://get.gravitational.com/teleport_14.3.3_arm.deb2024-01-2500:47:24CET [teleport-installer] Downloading to /tmp/teleport-w80NLClm8b/teleport_14.3.3_arm.deb2024-01-2500:48:01CET [teleport-installer] Downloaded file size: 141283394 bytes2024-01-2500:48:01CET [teleport-installer] Will use shasum -a 256 to validate the checksum of the downloaded file2024-01-2500:48:08CET [teleport-installer] The downloaded file's checksum validated correctly2024-01-25 00:48:08 CET [teleport-installer] Using dpkg to install /tmp/teleport-w80NLClm8b/teleport_14.3.3_arm.debSelecting previously unselected package teleport.(Reading database ... 165895 files and directories currently installed.)Preparing to unpack .../teleport_14.3.3_arm.deb ...Unpacking teleport (14.3.3) ...Setting up teleport (14.3.3) ...2024-01-25 00:49:04 CET [teleport-installer] Found: Teleport v14.3.3 git:v14.3.3-0-g542fbb0 go1.21.62024-01-25 00:49:04 CET [teleport-installer] Writing Teleport node service config to /etc/teleport.yamlA Teleport configuration file has been created at "/etc/teleport.yaml".To start Teleport with this configuration file, run:teleport start --config="/etc/teleport.yaml"Happy Teleporting!2024-01-25 00:49:04 CET [teleport-installer] Host is using systemd2024-01-25 00:49:05 CET [teleport-installer] Starting Teleport via systemd. It will automatically be started whenever the system reboots.Teleport has been started.View its status with 'sudo systemctl status teleport.service'View Teleport logs using 'sudo journalctl -u teleport.service'To stop Teleport, run 'sudo systemctl stop teleport.service'To start Teleport again if you stop it, run 'sudo systemctl start teleport.service'You can see this node connected in the Teleport web UI or 'tsh ls' with the name 'rpi-garden'Find more details on how to use Teleport here: https://goteleport.com/docs/user-manual/root@rpi-garden:~#
but i still miss the Wormhole which Dataplicity provides “Wormhole takes a website running on localhost port 80 and makes it available at the provided URL”
At the other hand teleport has playback functionalities where you can see what you typed days ago 😉 also the session Management looks a tiny bit better that Dataplicity
👋 Hello and thank you for visiting my website. Here, you’ll discover a collection of my private projects and detailed write-ups for various Capture The Flag (CTF) challenges. I’m committed to keeping my projects up to date, ensuring you have access to the latest insights and experiences.
💡Feel free to explore the fascinating world of my private projects, where I share my journey with technologies like Raspberry Pi Pico and delve into the intricacies of MicroPython. Additionally, the CTF write-ups offer a glimpse into the challenges and solutions I’ve encountered in the cybersecurity landscape.
🌐 I hope you find inspiration and knowledge within these pages. Whether you’re a seasoned tech enthusiast or just starting out, there’s always something new to discover.
🚀 Thank you for being a part of this exploration. Happy browsing!